09 Jun How to assemble the XM1 Sport: useful tips
After disassembling the XM1 Sport we proceed to reassemble all its mechanical components.
Always remember that the function and accuracy of your rifle can only be maintained over time only by periodic and constant cleaning of the rifle.
The rifle should be cleaned after each use and it’s necessary to protect it from corrosion and weathering that could damage its mechanics over time.
The Blog article «RIFLE CLEANING» recap all the steps of good and proper maintenance.
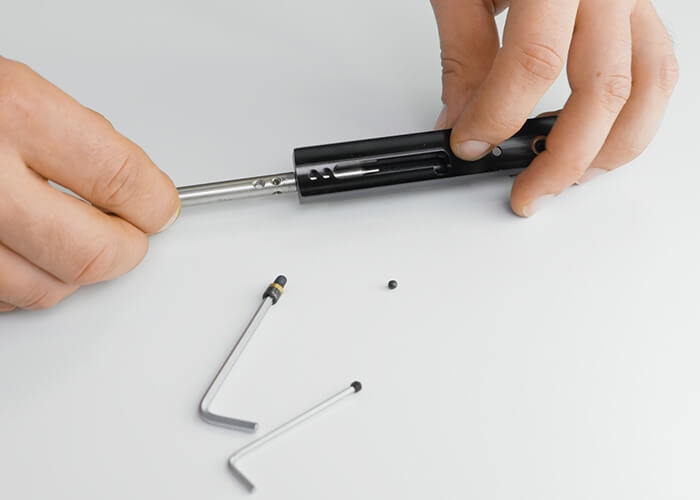
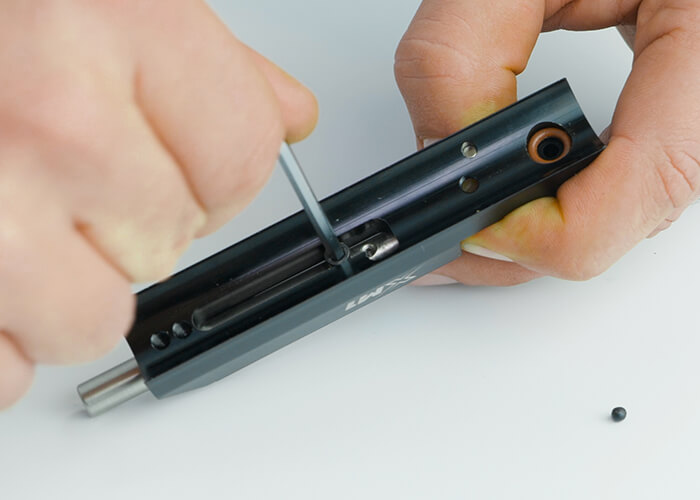
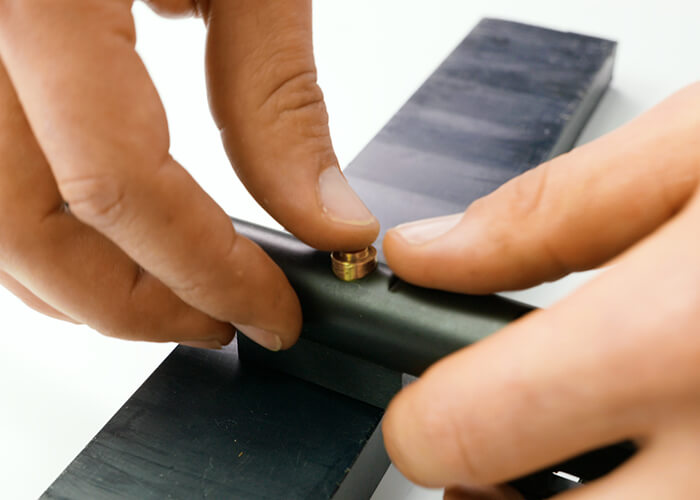
We start the assembling procedure by gently placing the bolt into the breech. We advise you to pay special attention to the orientation of the holes so that it is fixed in the correct way and its smoothness is guaranteed. Let’s not forget to reassemble the guide screw and the grub screw with which to adjust the slide of the bolt. Let’s place the rubberized ball on the breech.
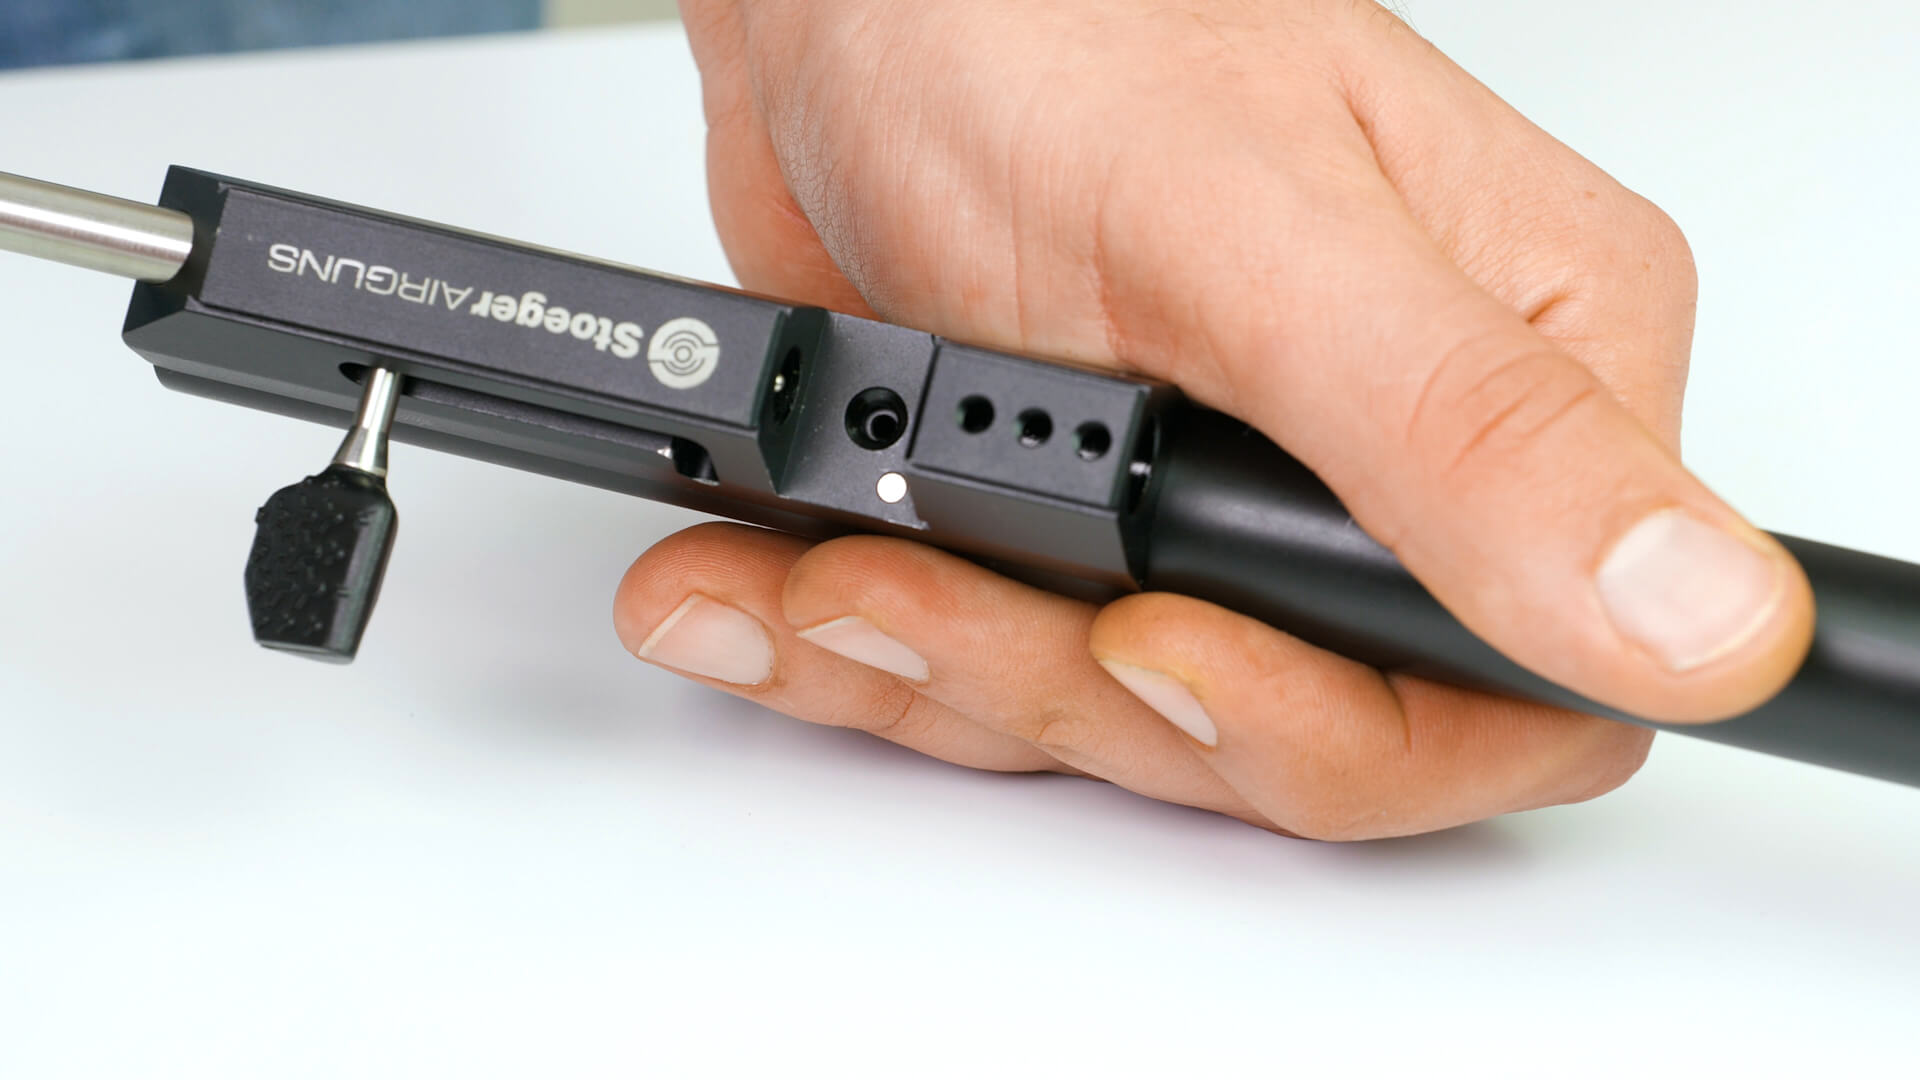
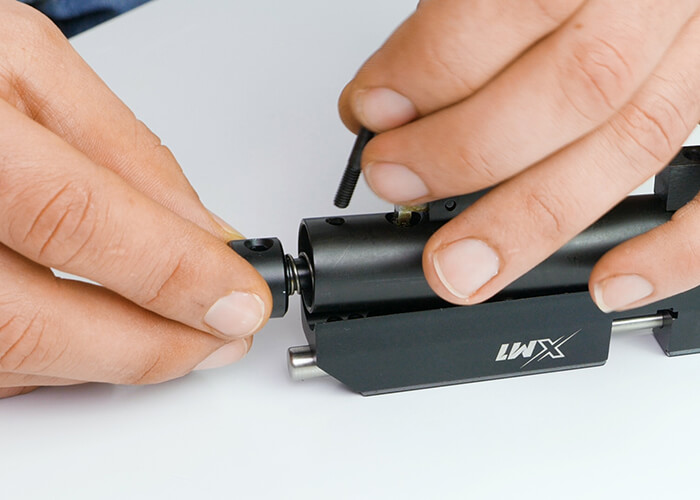
We continue by screwing the reservoir to the rifle. With the appropriate grub screw we secure the bolt lever and put the slotted screw with appropriate O-ring back into the reservoir cap.
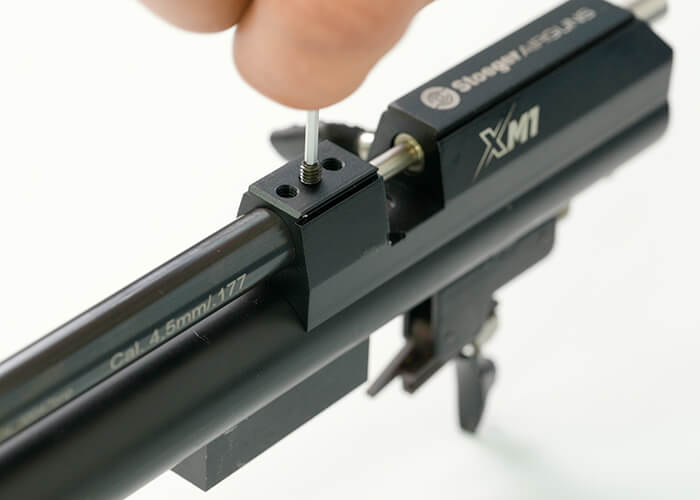
We continue this procedure of assembly by placing the breech back on the rifle. To do this we first put in the power valve and then tighten the lower block screw, which was previously loosened.
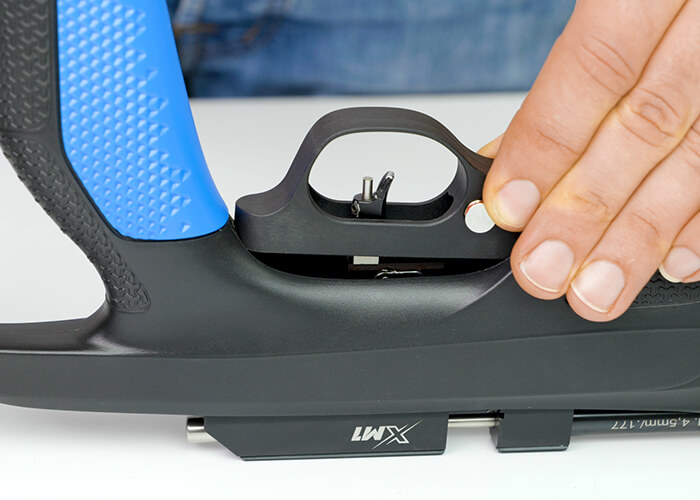
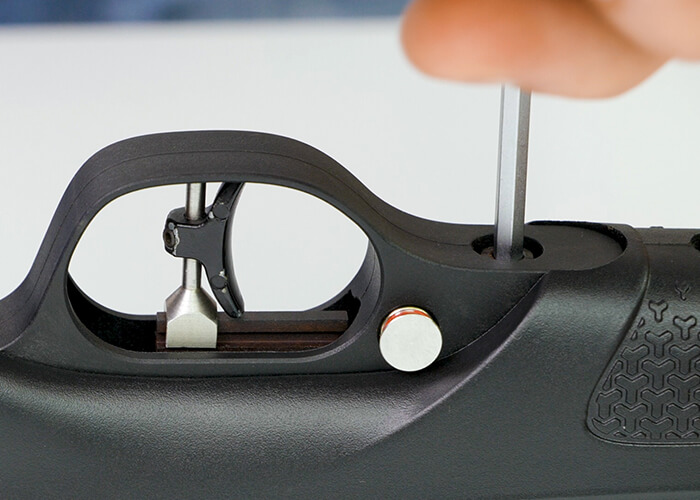
When we place the breech, we check that the guide screw is anterior to the firing pin screw so that it is engaged when cocking.
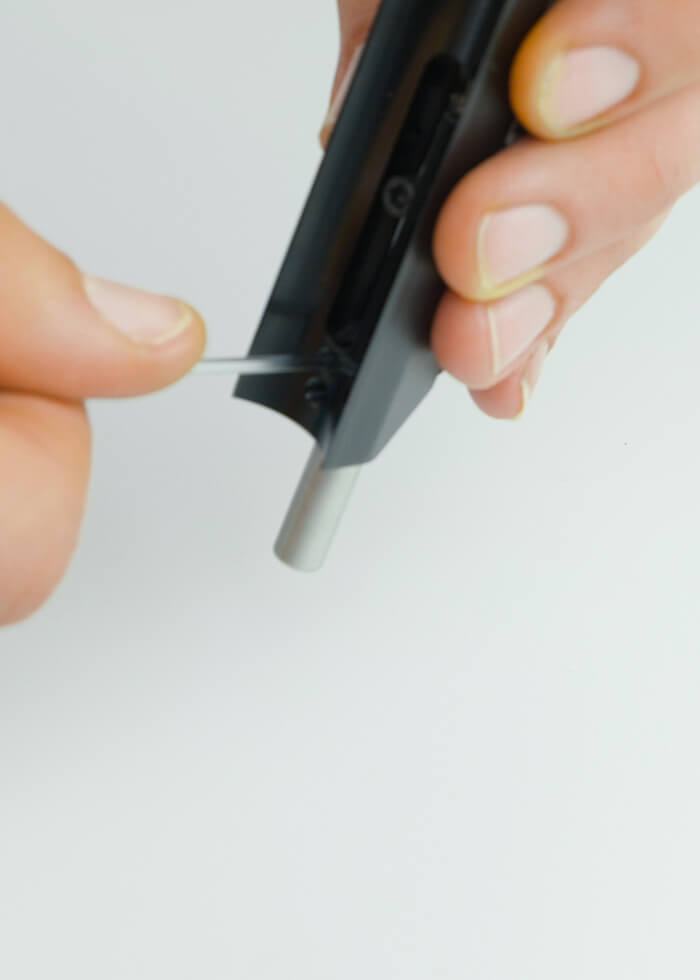
We tighten the breech front screw and then, reposition the bolt forward and engage the firing pin spring and spring guide. We fix all components by screwing in the back screw.
We replace the OR of the charging valve on the appropriate slotted screw inside the reservoir cap, where the pressure gauge is located at the opposite end.
Once this is done, screw the entire cap into the tank itself until it is tightened.
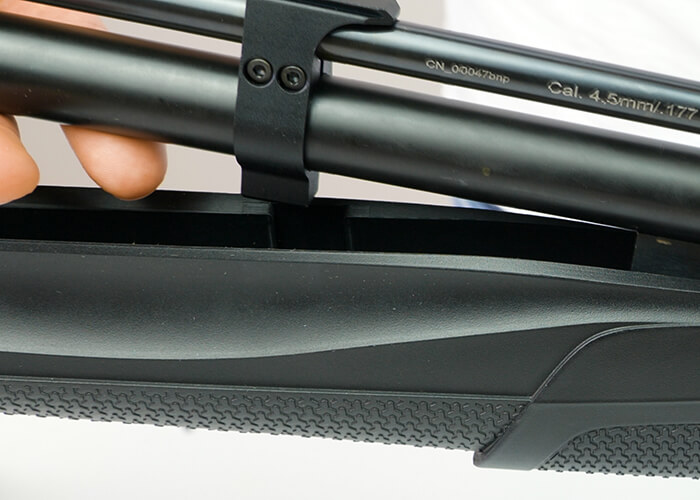
We place the barrel-tank union ring along the barrel and tank and adjust the barrel over the breech holes by securing the three beads (the longest one goes in the center).
The next step is to attach the mechanics to the stock. To do this we need to match the seat of the barrel perfectly with the ring itself. Once collimated, we tighten the two sealing allen bolts.
We advise you to be careful that the trigger pins are not overhanging, because it will not be possible to assemble the mechanics to the stock otherwise.
We reposition the sub-guard and secure it with its screw. We tighten the remaining two screws and arm the bolt lever to make sure everything is working.
We conclude the assembling operation by gently placing the single shot tray on the breech. Finally, we close the bolt by pulling the trigger and accompanying the bolt lever to return the rifle to safety.
We suggest that you reset the valves by cocking the bolt lever in case the rifle loses air from the barrel during loading or in case the pressure regulator has also been disassembled.
SEGUI IL VIDEO HOW TO
If you have any questions, inquiries, or concerns please contact our customer service department [email protected] we will always be here to help you!!