04 Ago How to set the scope: useful tips
Mounting an optic to a rifle may seem like a simple task, but it requires careful attention to detail. To ensure maximum shooting performance, it is important to know the necessary steps and tools involved in the process.
Before starting, it is recommended to clean the mounting surfaces thoroughly to remove any dust or debris that could affect the grip and stability of the optic.
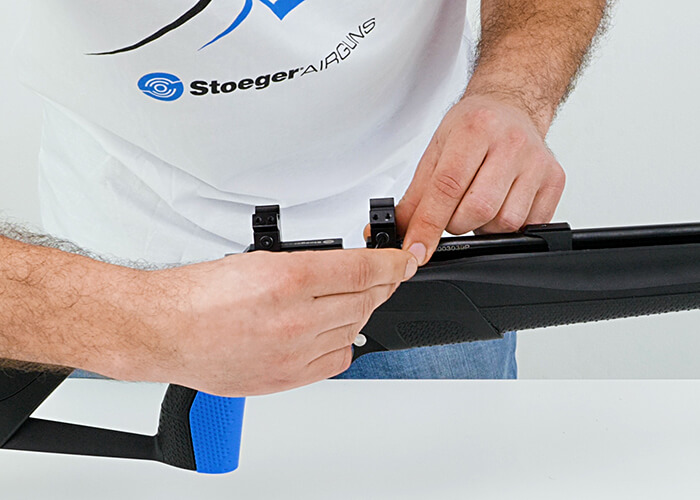
The first step is to take the base of the rings and remember to flip over the recoil pin. However, it is important to considere that if mounting the optics on the RX series, the pin is not present in picatinny type rings like the XM1 Bullpup.
Next, the bases should be mounted on the rail machined on the receiver, utilizing the entire available length depending on the type of optics being used. It is crucial to avoid using the slide present on the tank barrel union ring, as it is meant for the rear sight and is not at the same height as the receiver.

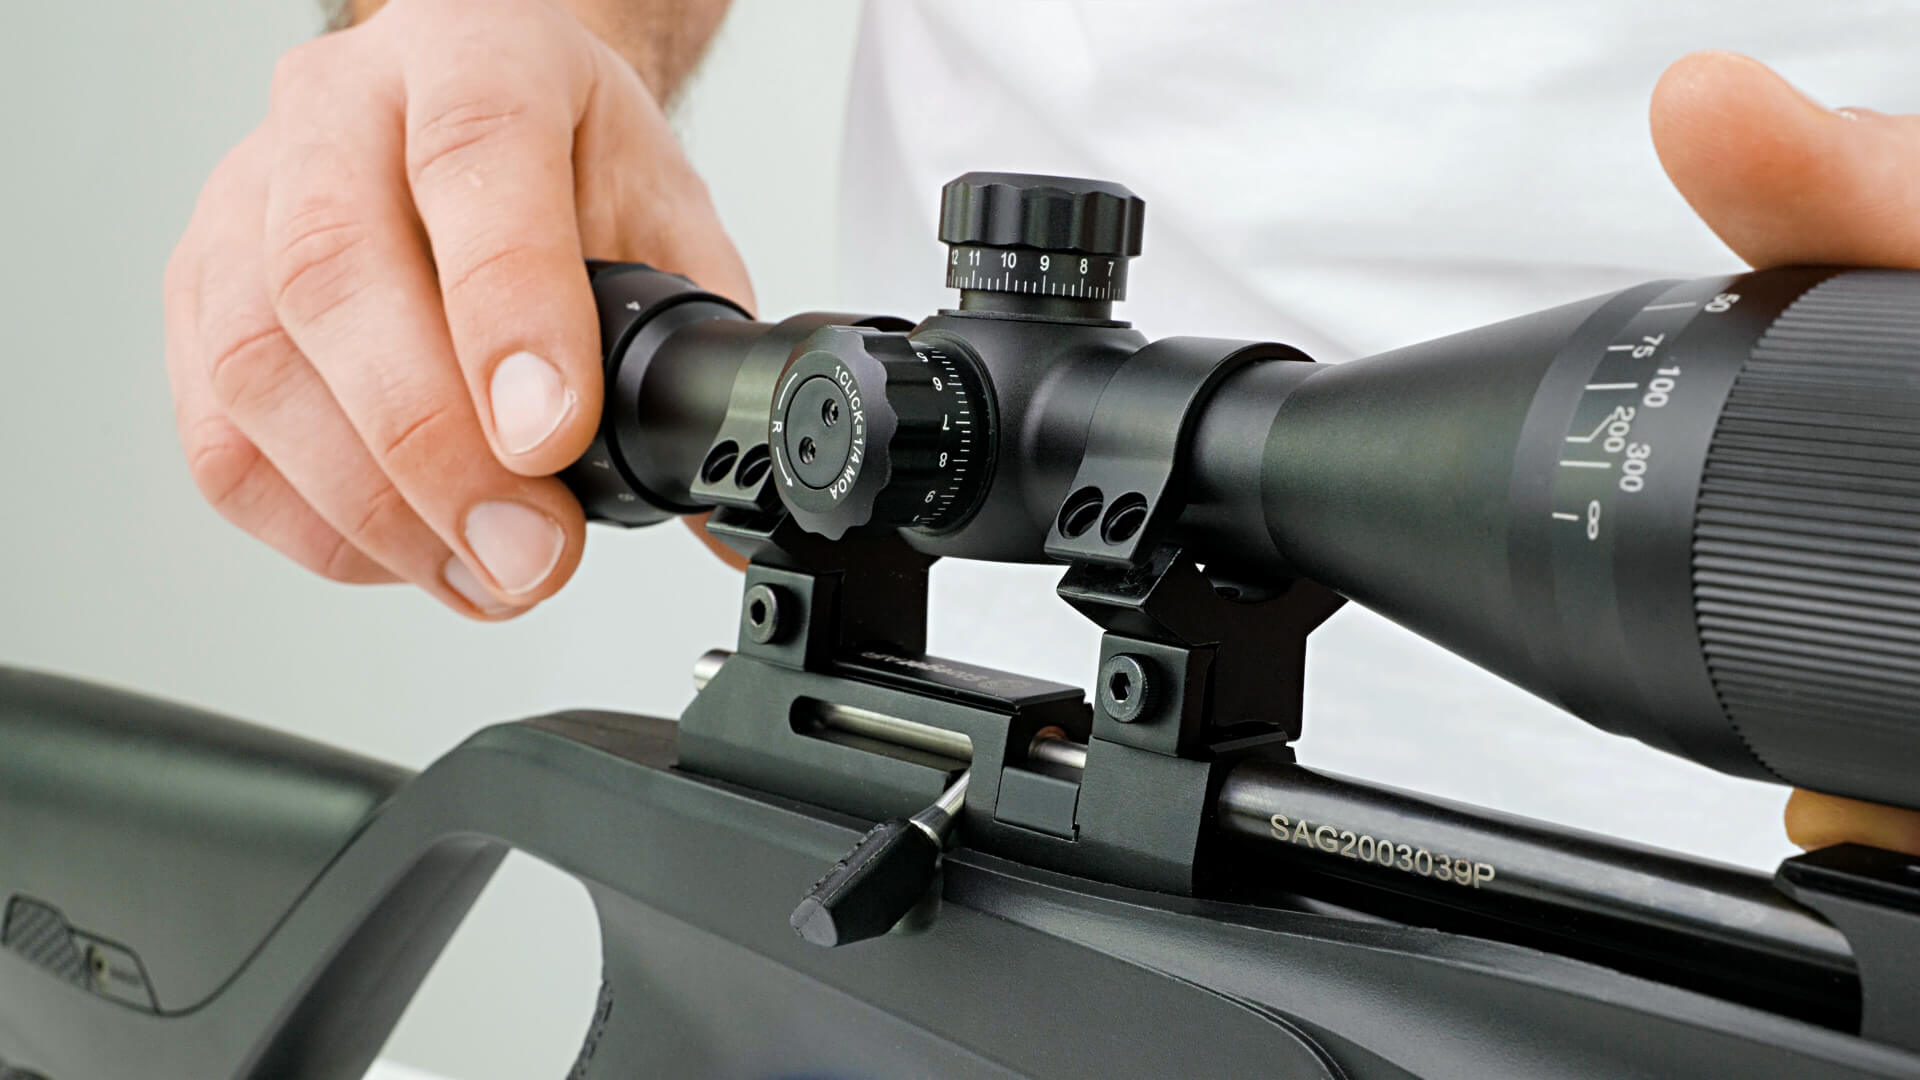
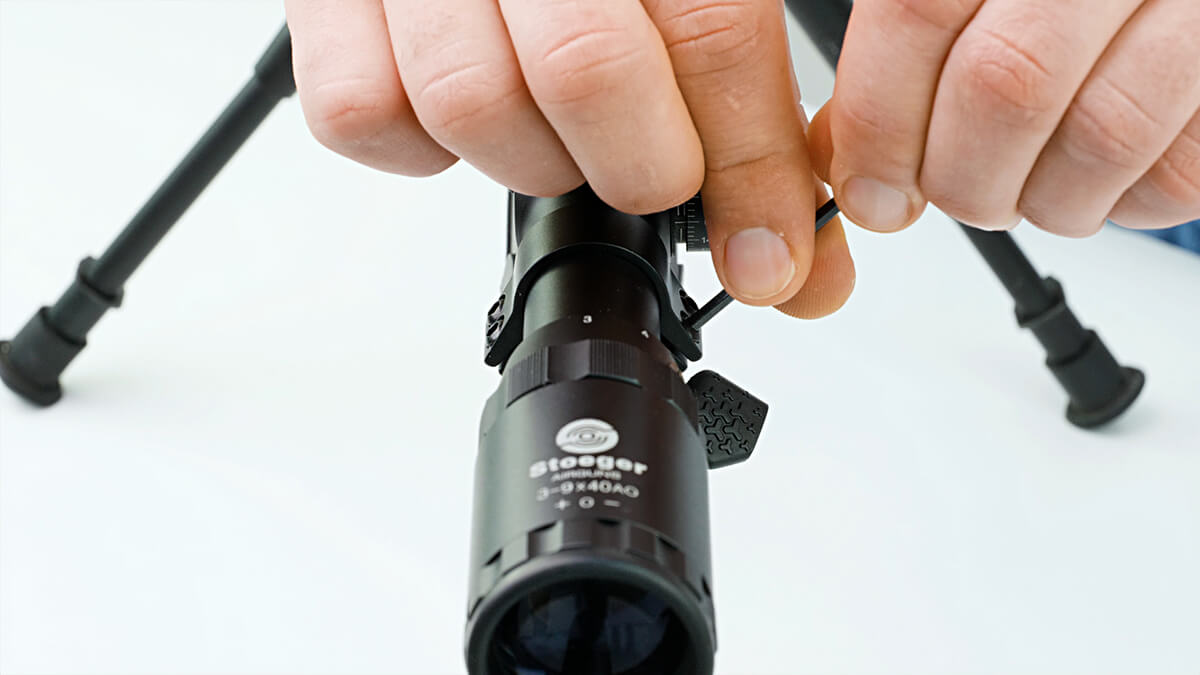
Once the bases are securely in place, the optic can be positioned, taking care to align it with the turrets. The upper portion of the rings should be screwed on, but the screws should not be tightened completely. This allows for adjustments to be made to the optic’s position before checking for perfect alignment.
At this point we make a first check so as to adjust the focal length and perfect perpendicularity of the reticle.
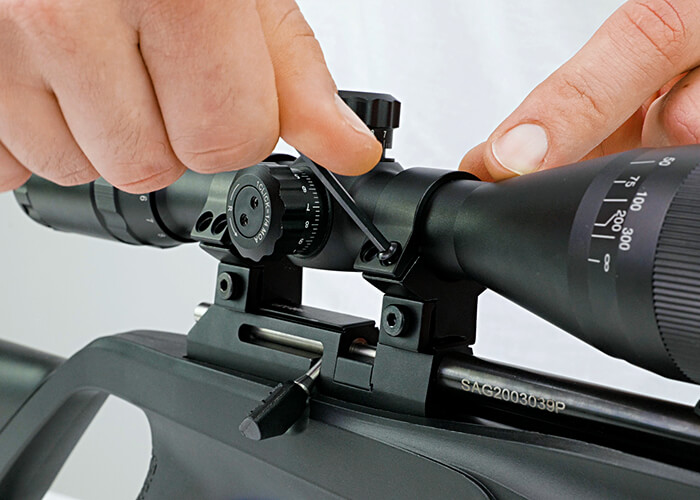
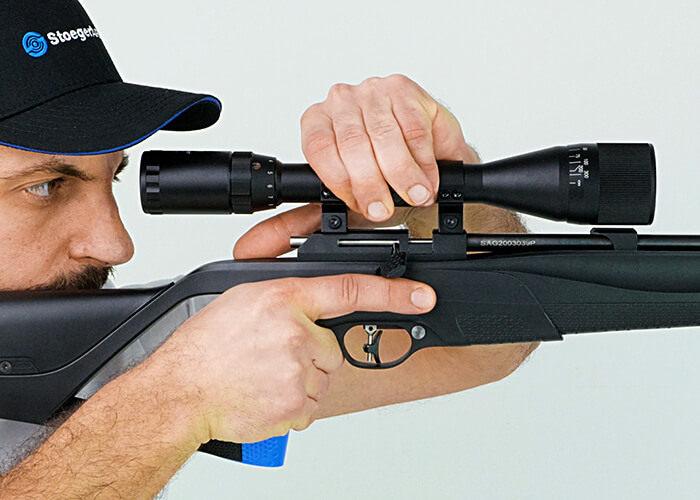
Once the alignment is complete, we can proceed to tighten the screws in cross direction to avoid asymmetry and tension on the optics.
FOLLOW THE HOW TO VIDEO
If you have any questions, inquiries, or concerns please contact our customer service department [email protected] we will always be here to help you!!!