26 Apr How to disassemble the XM1 Sport: useful tips
The rifle disassembly by the shooter is a very delicate but important operation and certainly functional for its meticulous and correct cleaning.
Periodic cleaning of PCP rifles does not require frequent disassembly because they don’t burn any propellant in the firing phase compared to usual rifles.
Therefore, periodic cleaning (every 6 months or so) with tools and products easily found in the gun shop is sufficient to maintain the rifle in good condition.
However, a complete and careful cleaning is more helpful in removing stubborn residues that may accumulate inside the rifle or in frequently used parts (pistol grip and trigger group).
With this article, Stoeger AIRGUNS wants to show you all the disassembling steps of the PCP XM1 Sport rifle, absolutely the most appreciated by experienced and non-experienced shooters for its extreme handling and very high shooting accuracy.
DISASSEMBLY STEPS
Whether air rifle or common gun, the number one rule is always the same: CAUTION. Always make sure the rifle is unloaded. In the case of the XM1 SPORT check that the air tank is unloaded.
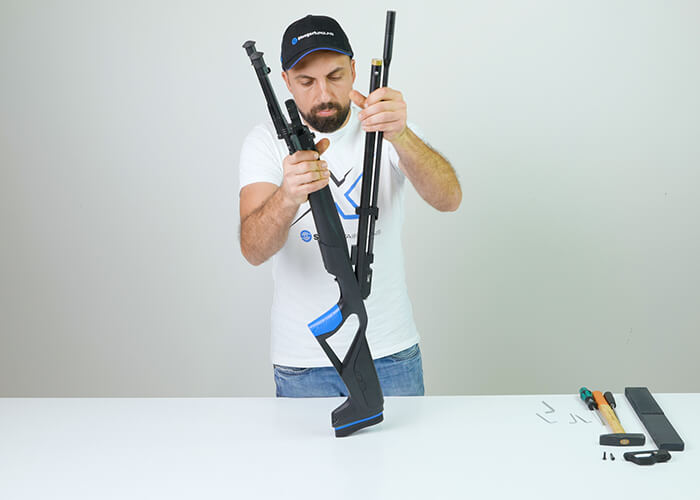
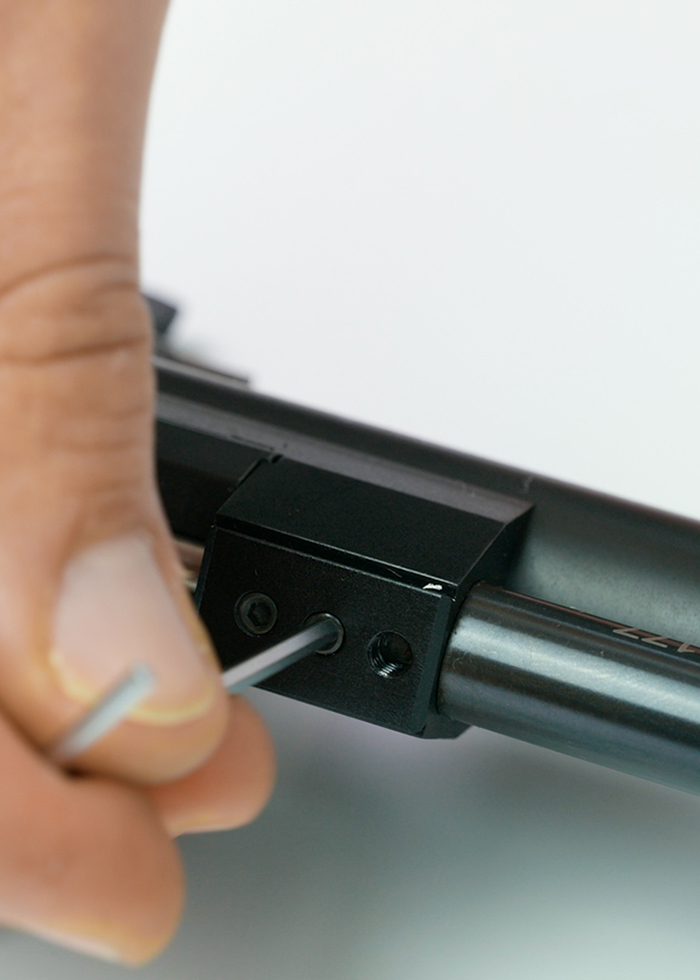
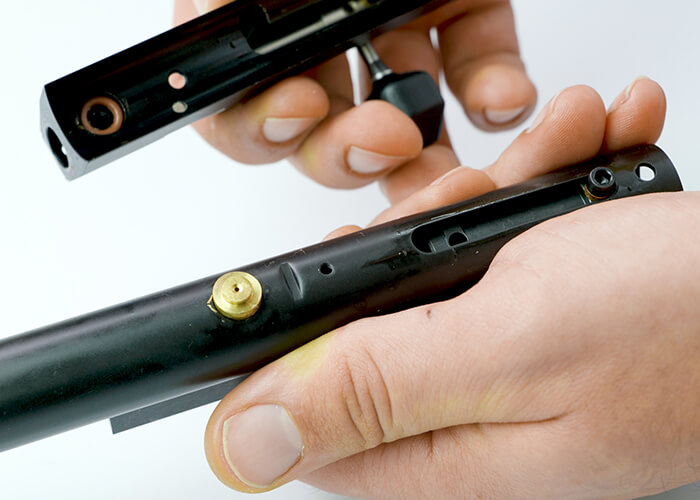
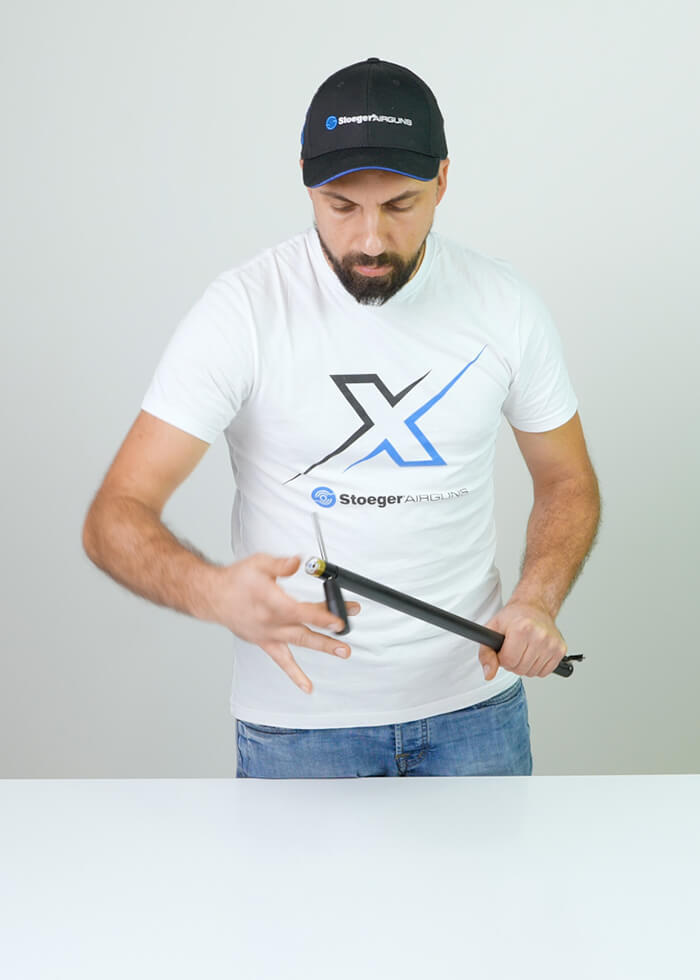
With an allen screwdriver or appropriate spanner we immediately separate the shaft from the rest of the rifle’s components. We first unscrew the allen screws located in the under guard and then loosen and remove the remaining screws that connect the shaft to the mechanics.
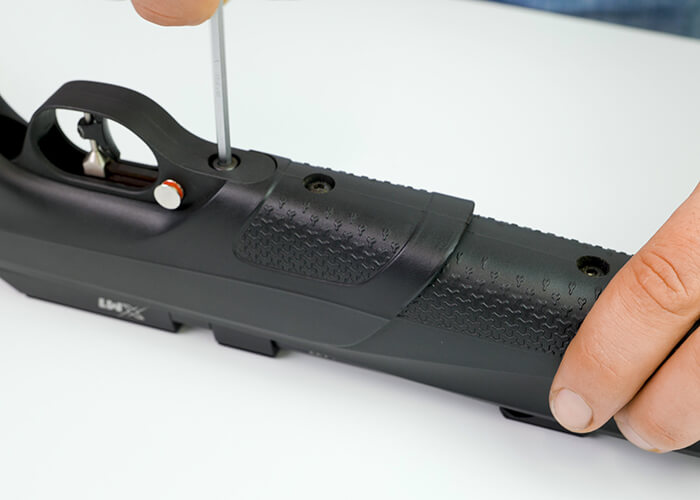
We must always be careful to store the screws in a tidy place. Losing a screw is easier than one might think, and reassembly requires placing them all in their right places.
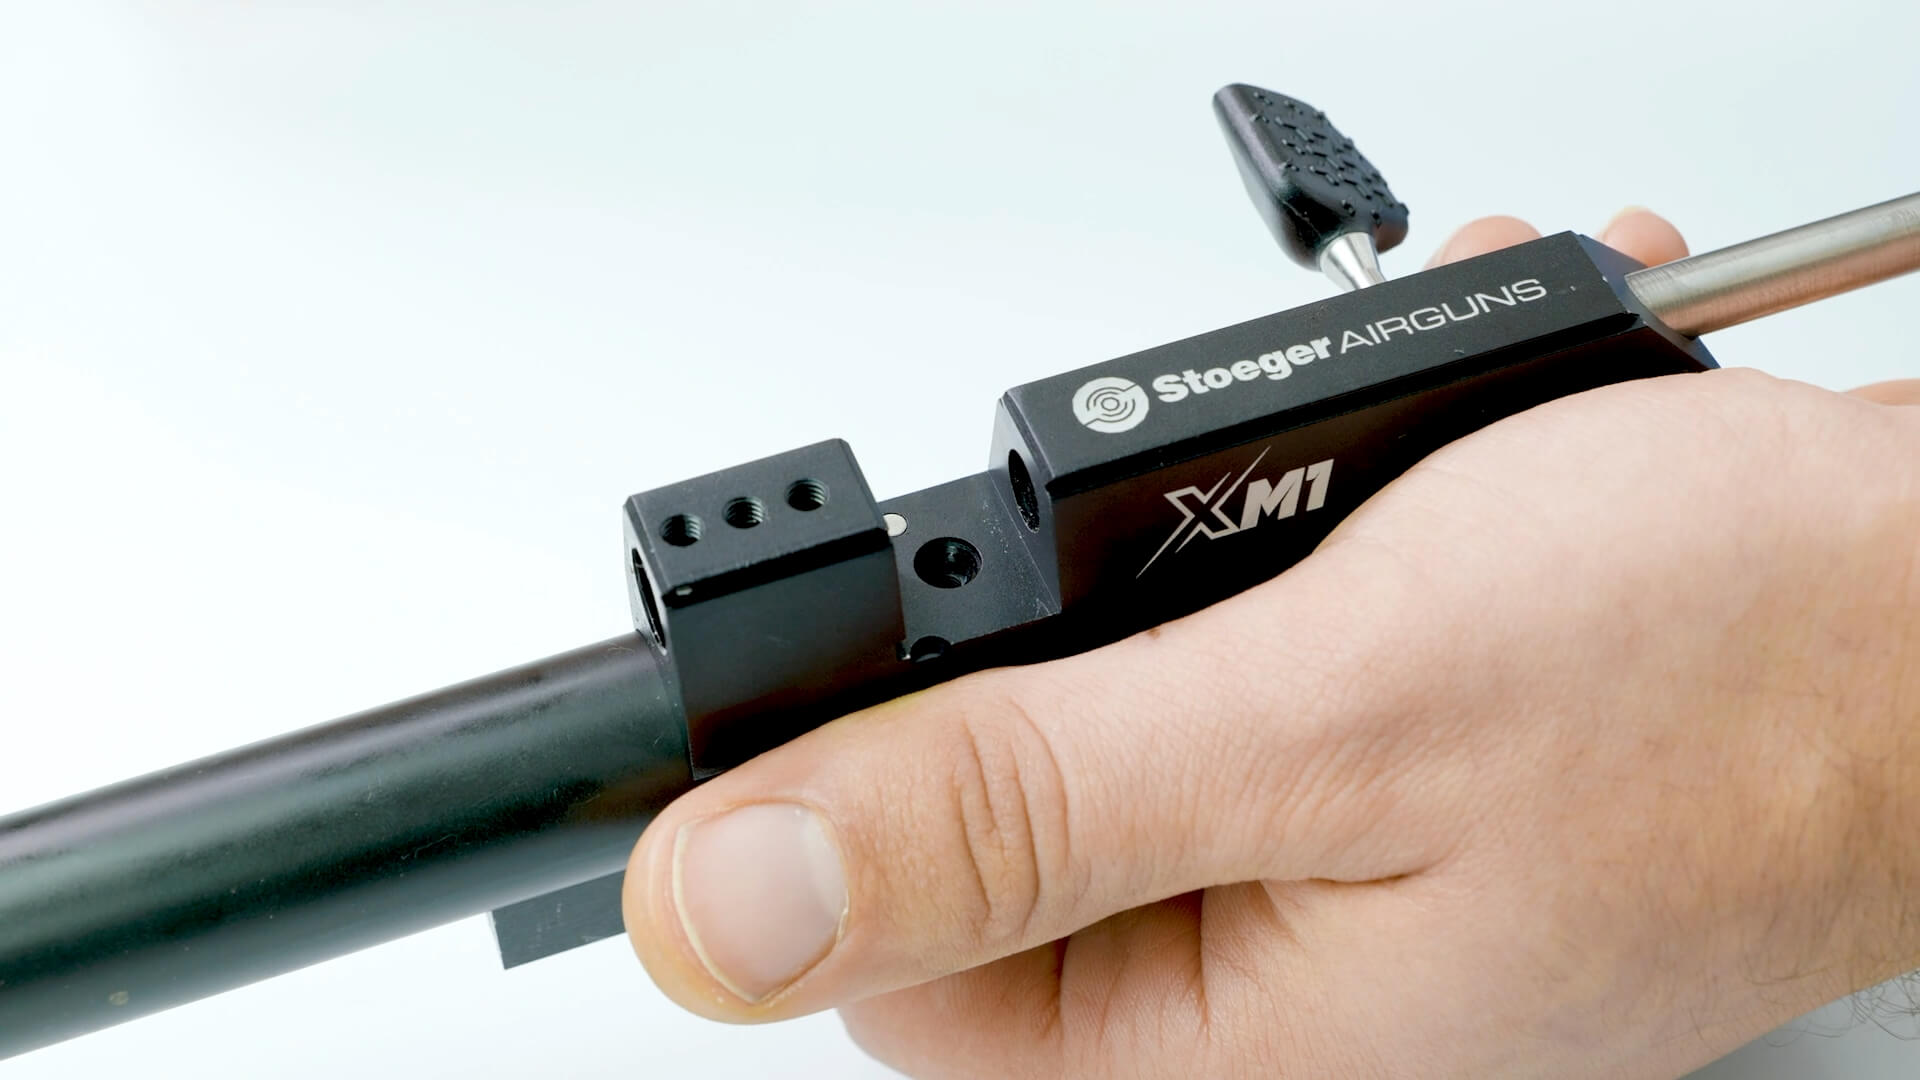
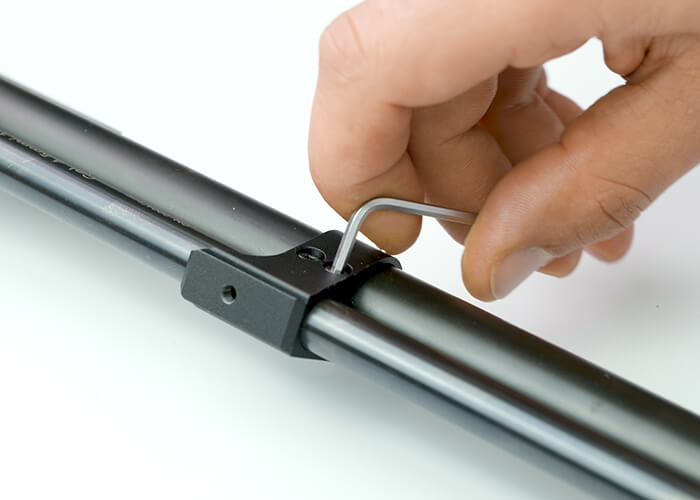
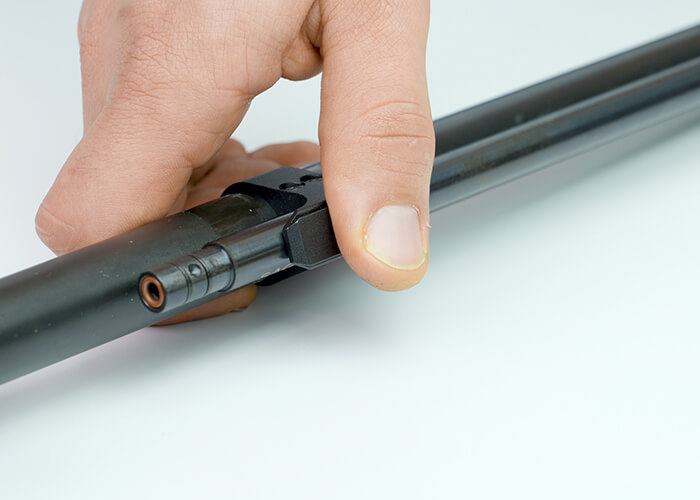
We continue by gently removing the barrel. To do this we loosen the two allen screws in the ring that holds the barrel to the tank. We remove the three retaining dowels from the barrel and remove the barrel.
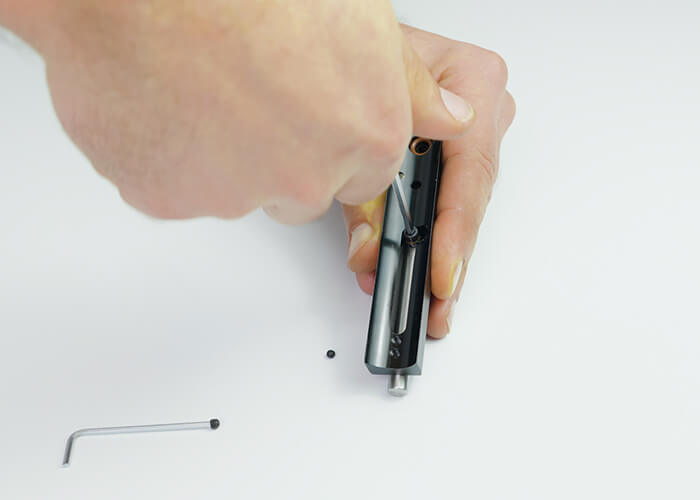
We continue the disassembly of the rifle by removing the bolt. This is a delicate operation and to do it in the best way we suggest, carefully, by first proceeding by first unscrewing the back Allen set screw and then removing the striker spring and finally the spring guide. We conclude by retracting the bolt.
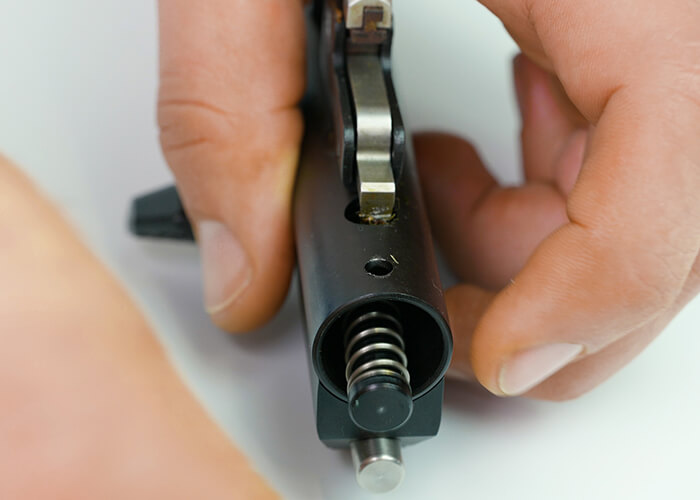
As an intermediate step we recommend that you remove the single shot tray from the breech and then loosen and remove the allen screw below.
At this point we separate the breech from the rifle body and remove the cocking handle after unscrewing its retaining screw.
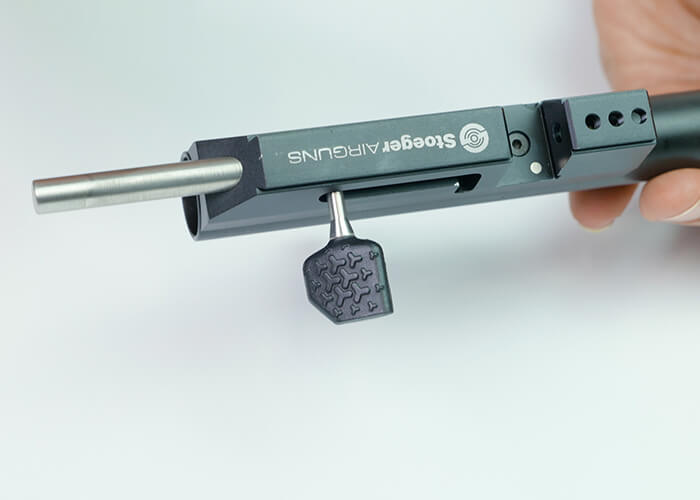
We continue with the bolt. Removing the bolt is not a easy operation.
The bolt is located inside the breech box, and in order to remove it with precision we suggest a few steps to get it off properly.
Let’s proceed by removing the allen screw and then getting the rubber ball out. Don’t forget to loosen and remove the bolt guide screw before unthreading and put it away near the rifle.
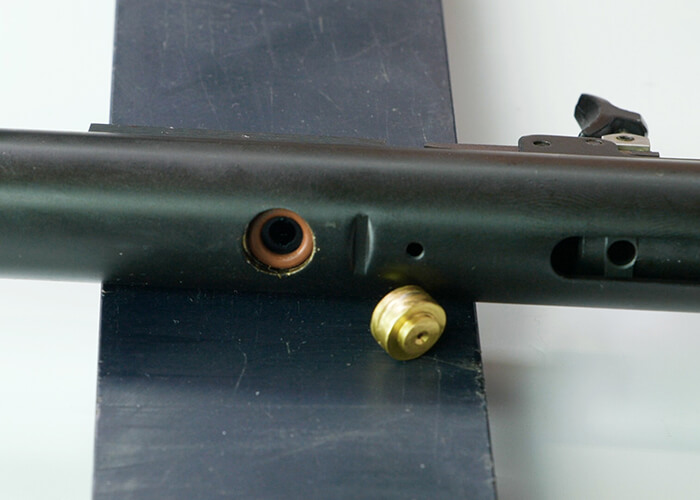
We conclude the disassembly step by removing the power valve, striking it on its side if necessary.
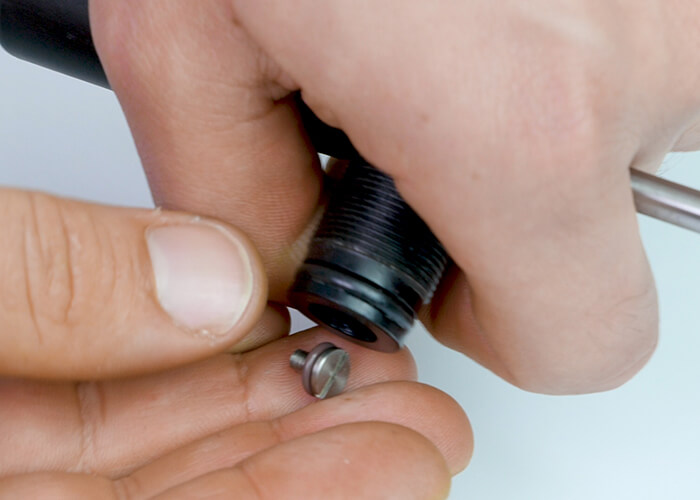
We unscrew the front reservoir cap with a pin, remove the slotted screw inside and its O-ring seal.
ATTENTION: Put all rifle components back in a safe place away from dust and corrosive agents, and proceed to clean the rifle by following the Stoeger AIRGUNS team’s advice detailed in the Blog’s article “RIFLE CLEANING”.
WATCH THE HOW TO VIDEO
If you have any questions, inquiries, or concerns please contact our customer service department [email protected] we will always be here to help you!!!