21 Juil How to assemble the XM1 BULLPUP: useful tips
After disassembling the XM1 Bullpup, it is important to reassemble all its mechanical components to ensure its funcyion and accuracy.
Always remember that the function and accuracy of your rifle can only be maintained over time through periodic and constant cleaning of the rifle.
The Blog article « RIFLE CLEANING » summarizes all the steps of good and proper maintenance.
To begin the assembling process of the rifle we must carefully insert the power valve into its seat, paying attention to the correct orientation to avoid any potential issues later on.
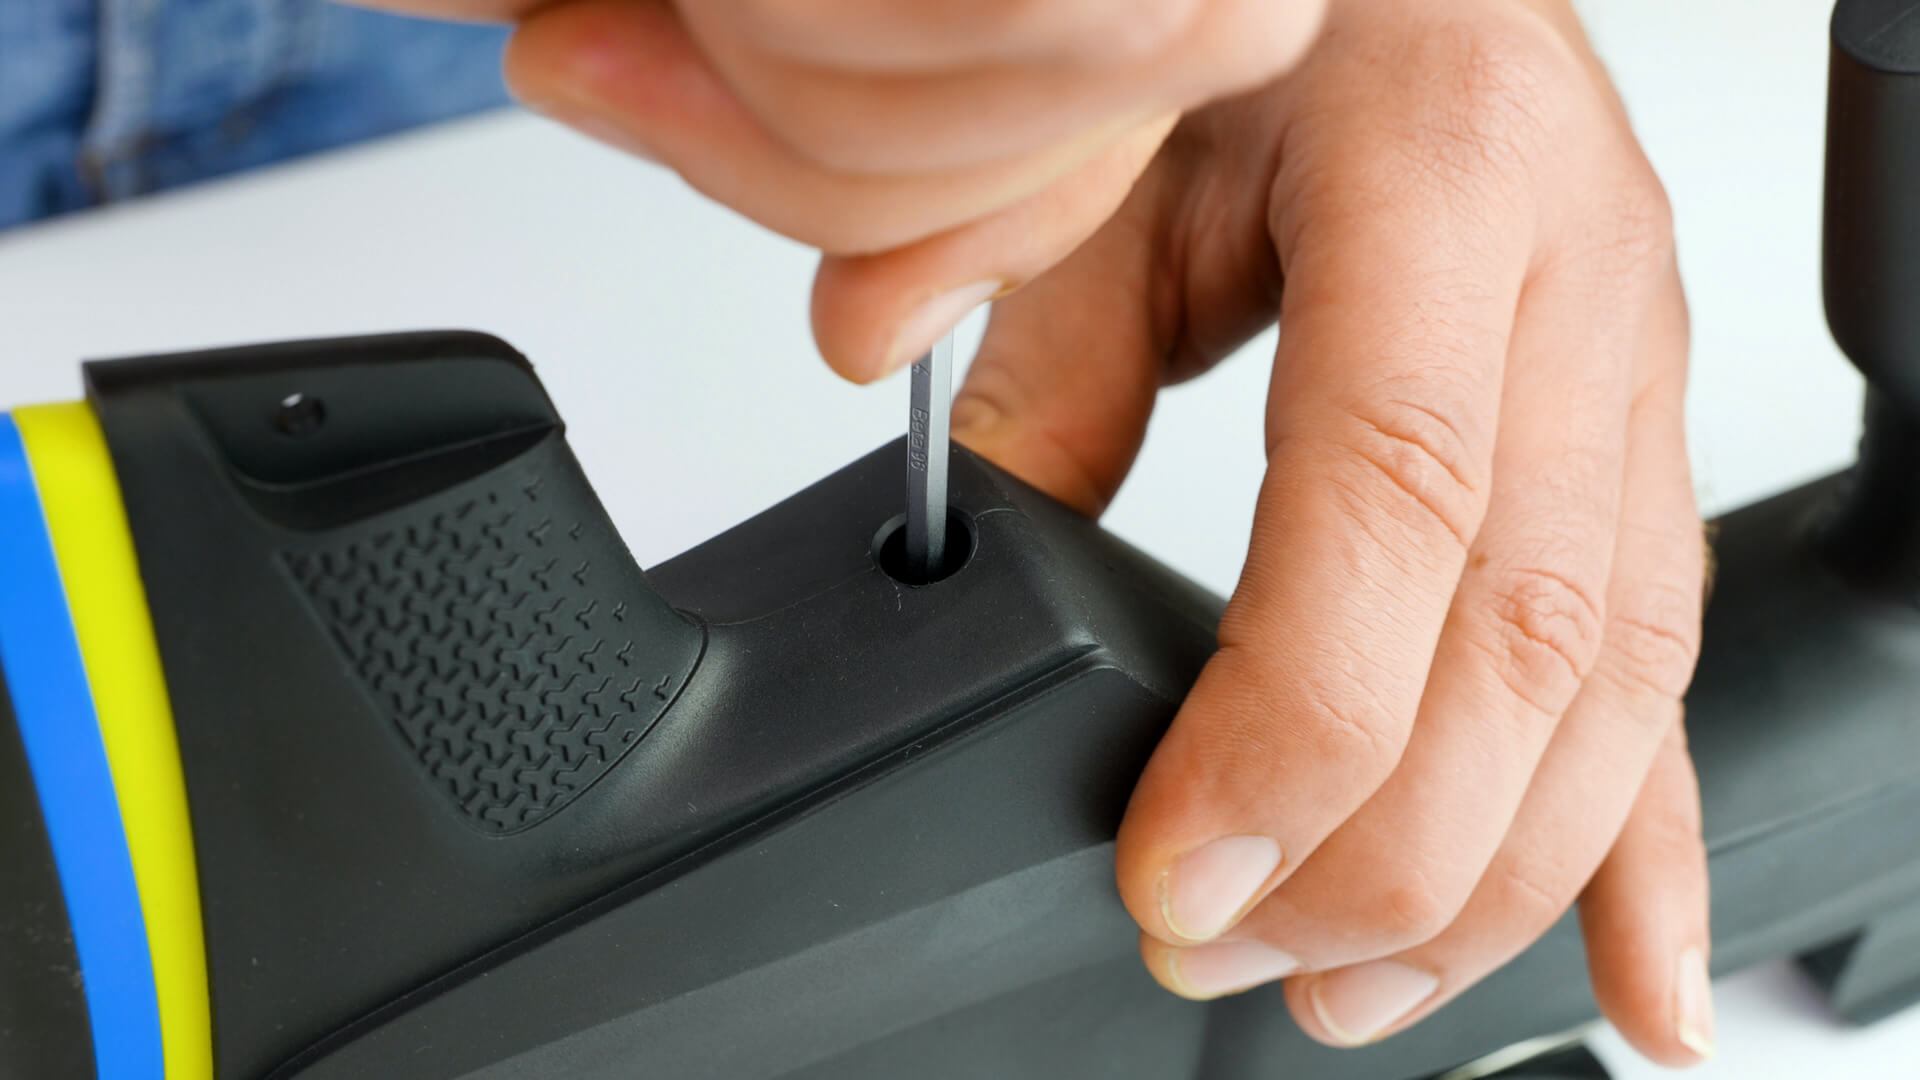
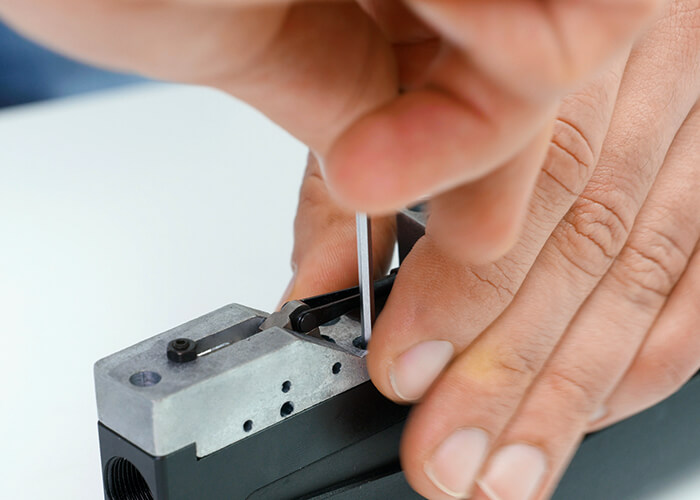
We continue to insert the pin in the correct direction and reapply the set screw to secure it in place.
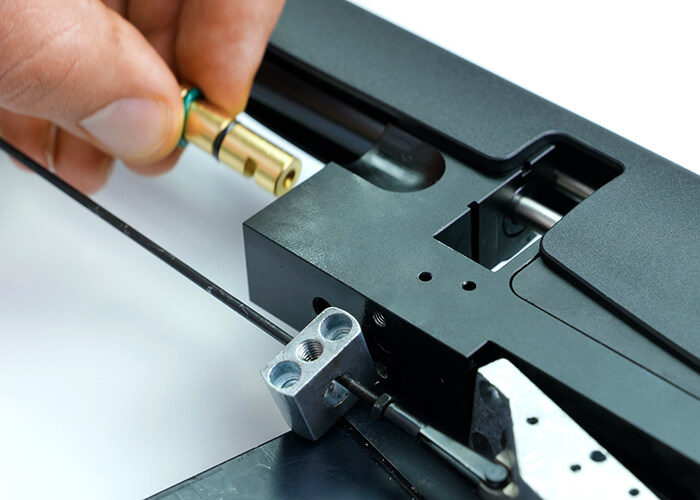
Next, We proceed to insert the firing pin and spring back into their seats and secure everything by screwing in the power screw.
Additionally, We reassemble the lower part of the trigger using the 5 screws.
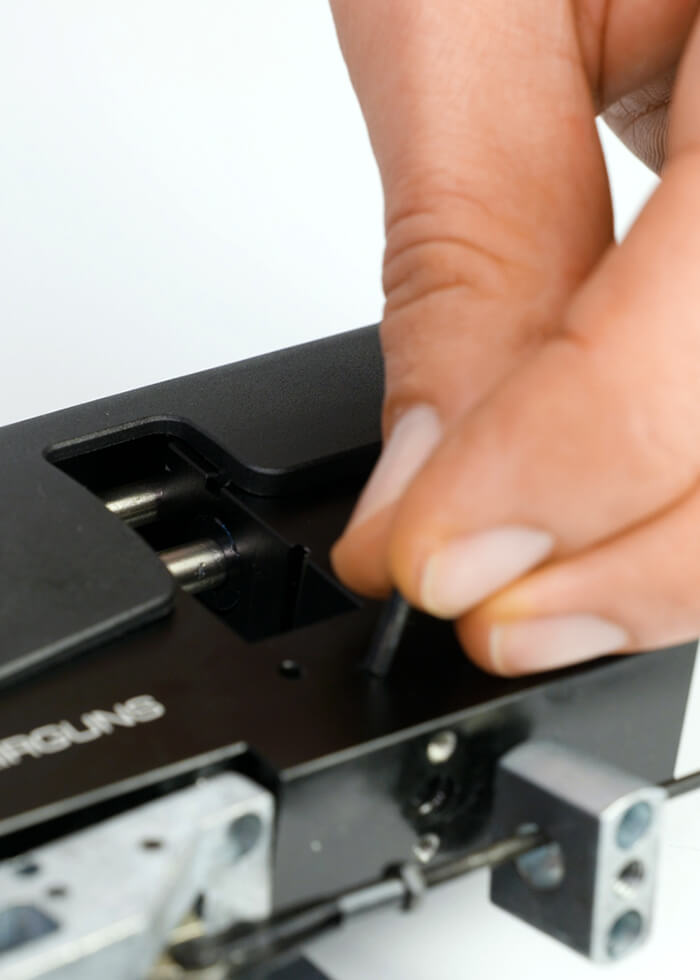
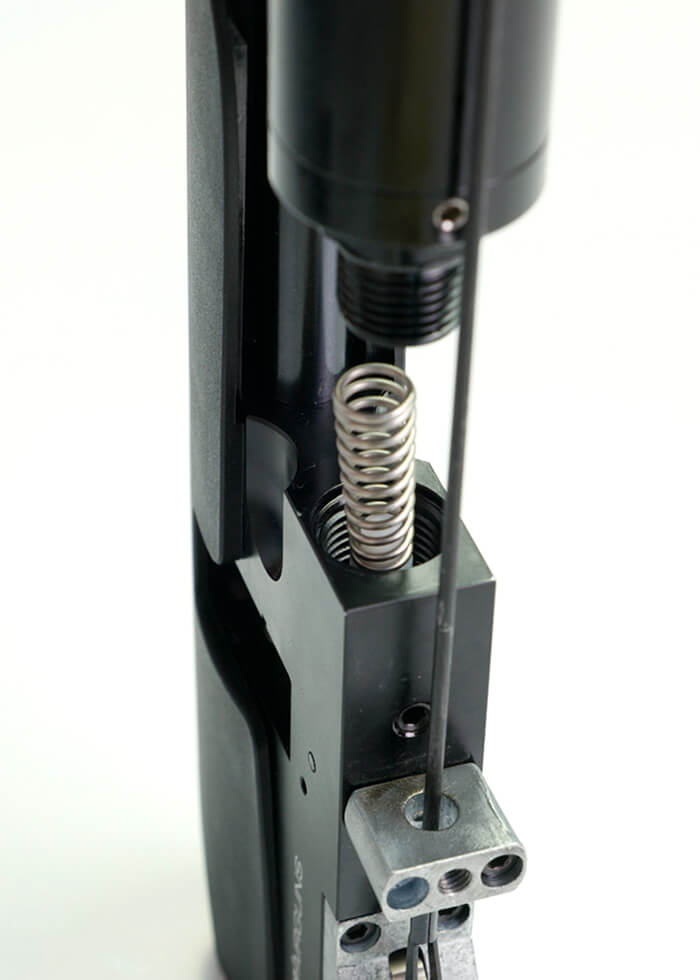
Let’s not forget to replace the needle valve and its spring back into their seat.
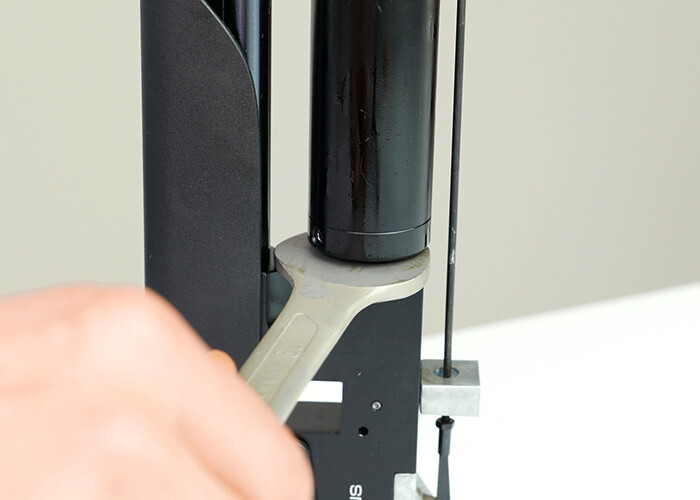
Once the tank tube is screwed in, we tighten it with a wrench to prevent any potential leaks.
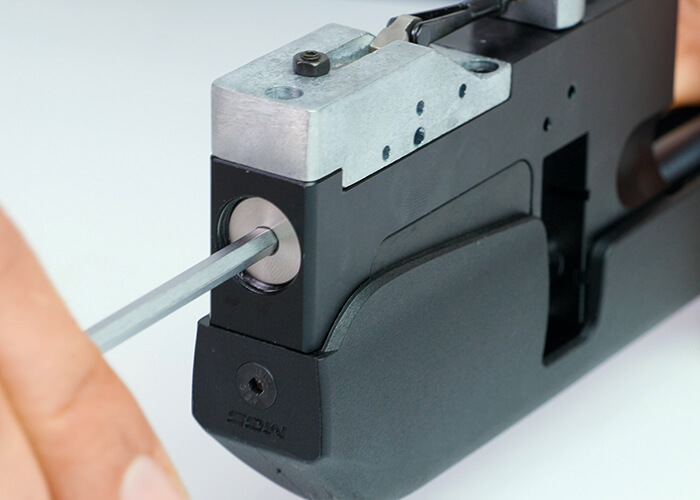
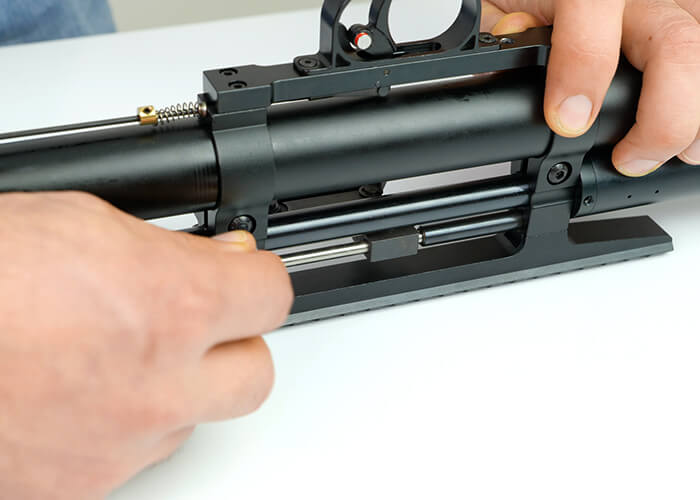
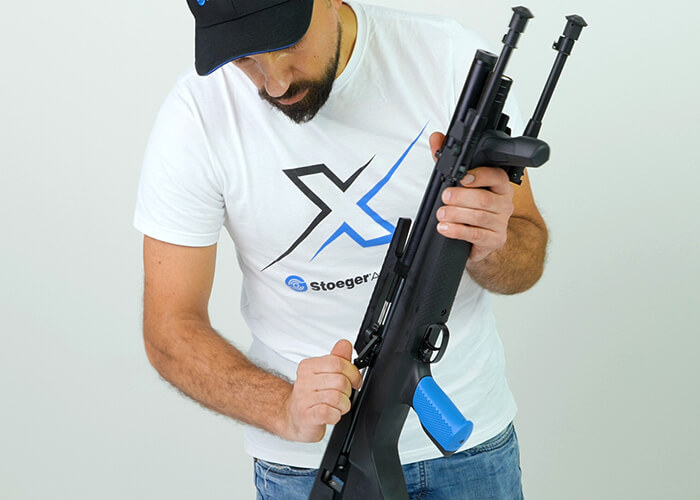
Next, We place the mechanics on the barrel sleeve and tighten the two side screws.
We reposition the mechanics on the barrel and secure it with the two Allen screws, providing additional stability.
Before loading the rifle with air, we remember to cock the throttle to reset the valves.
This step ensures that the rifle is ready for use and that the valves are properly alighed.
ATTENTION: Put all rifle components back in a safe place away from dust and corrosive agents, and proceed to clean the rifle by following the Stoeger AIRGUNS team’s advice detailed in the Blog’s article « RIFLE CLEANING ».
If you have any questions, inquiries, or concerns please contact our customer service department [email protected] we will always be here to help you!!!